
Our home isn’t necessarily considered small, but as our family grows we are always searching for ways to make better use of the space we have and incorporate as many storage solutions as possible, like our DIY window bench and modern farmhouse sideboard.
I love finding solutions that look beautiful and can be incorporated into a space without being intrusive to the design of the room.
When Nick begins designing a new furniture piece, he always takes this into account. Each piece that he designs usually incorporates some kind of storage element, whether big or small.
We are very conscious about the amount of “stuff” we keep, and make an effort to clean out our closets every spring and fall, throwing out or donating clothes, toys and decor that we have collected and no longer need. But despite that, we still have quite a few things we aren’t willing or ready to part with.
I think everyone struggles with getting rid of “stuff” of deciding what is worth keeping, and what isn’t. We typically go through our home once a season to purge the items we are no longer using.
It’s very cathartic and gives you more room to accumulate more “stuff”, like more throw pillows and blankets! 🙂
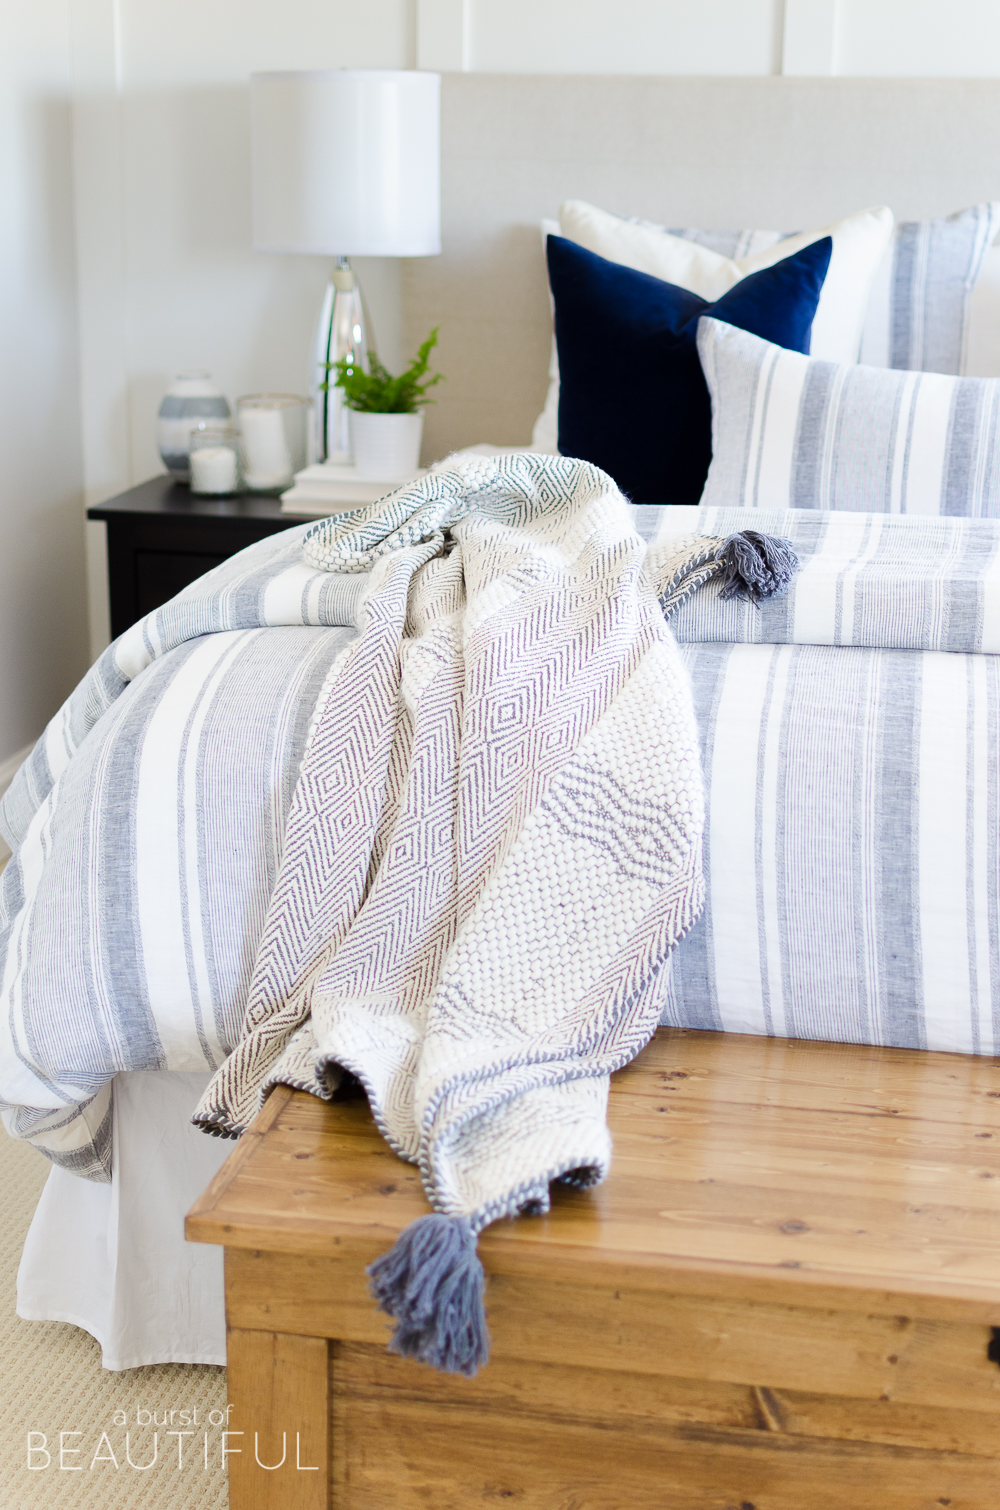
For me, a big part of that is home decor items, in particular throws and pillows (come on friends, I know I’m not alone in this!).
You’ve probably noticed that a new blanket or pillow will sneak it’s way into our home each season (but Nick seems to think I get a new one each day…), and because of that, I have a pretty big collection.
These are items that I like to rotate throughout our home depending on the season, but they tend to take up a lot of space when we’re not using them.
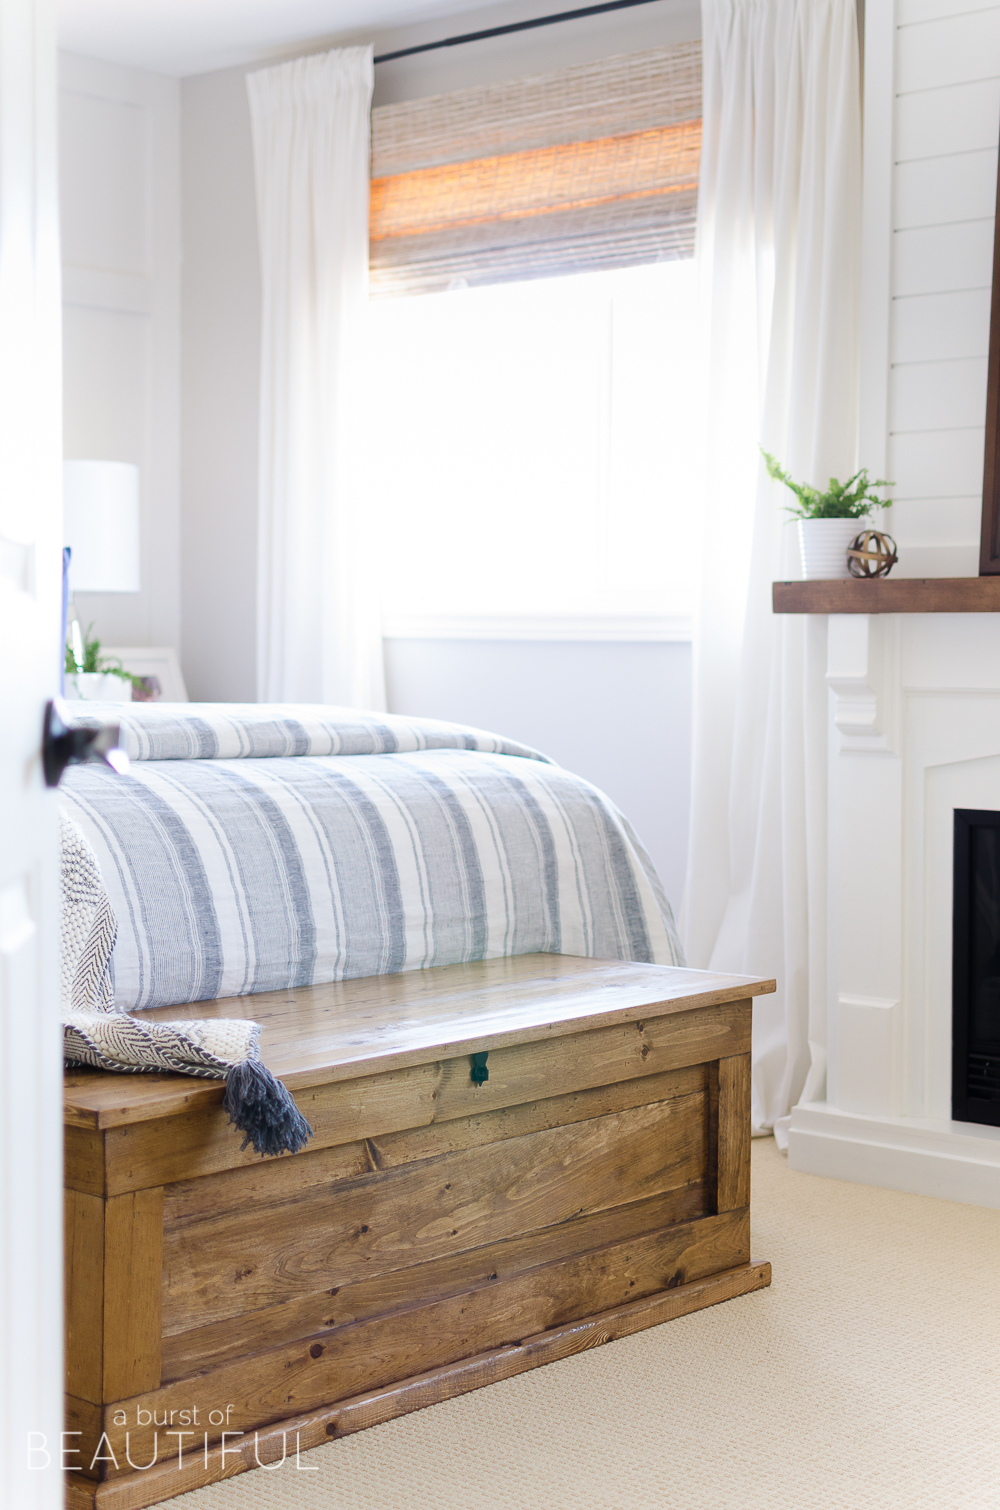
So when we decided to switch out the bench that was at the foot of our bed, we thought a DIY blanket storage chest would be just perfect!
The old bench was just a simple four leg bench with a fabric top that we had arbitrarily covered with a left-over curtain panel in an effort to make it match the decor. I had tired of the bench and was looking for something with a little more substance to fill in the space. And of course, if it could have storage it was an extra bonus.
We started talking about some sort of trunk or chest, like the beautiful variations you see at Pottery Barn or Restoration Hardware and I knew it was something Nick would enjoy building for us.
So, as usual, Nick set to work sketching out a plan and I gave him the final go-ahead to start building.
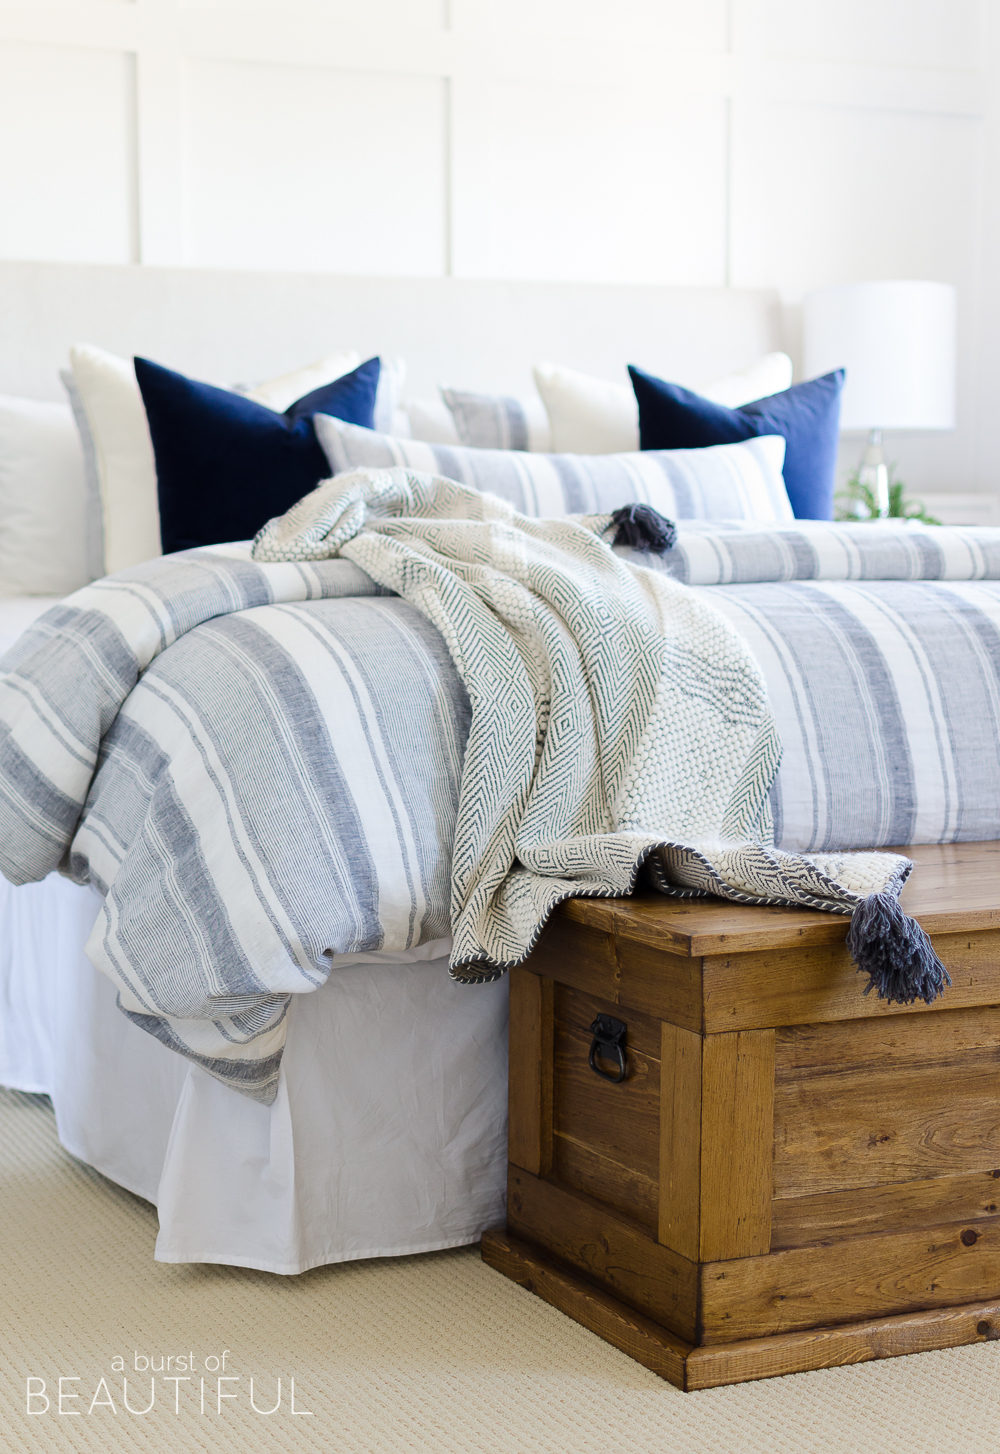
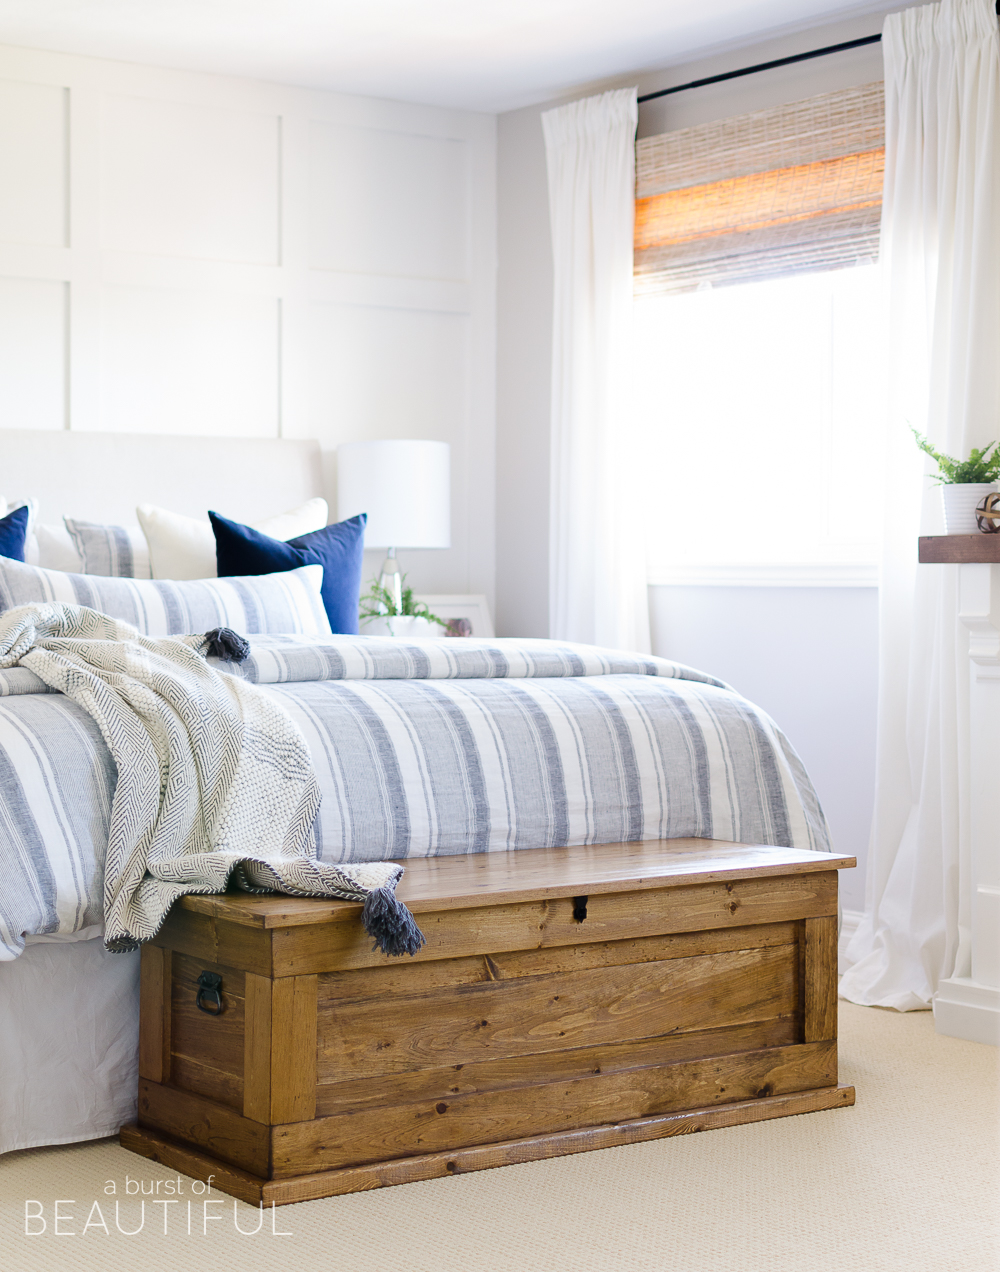
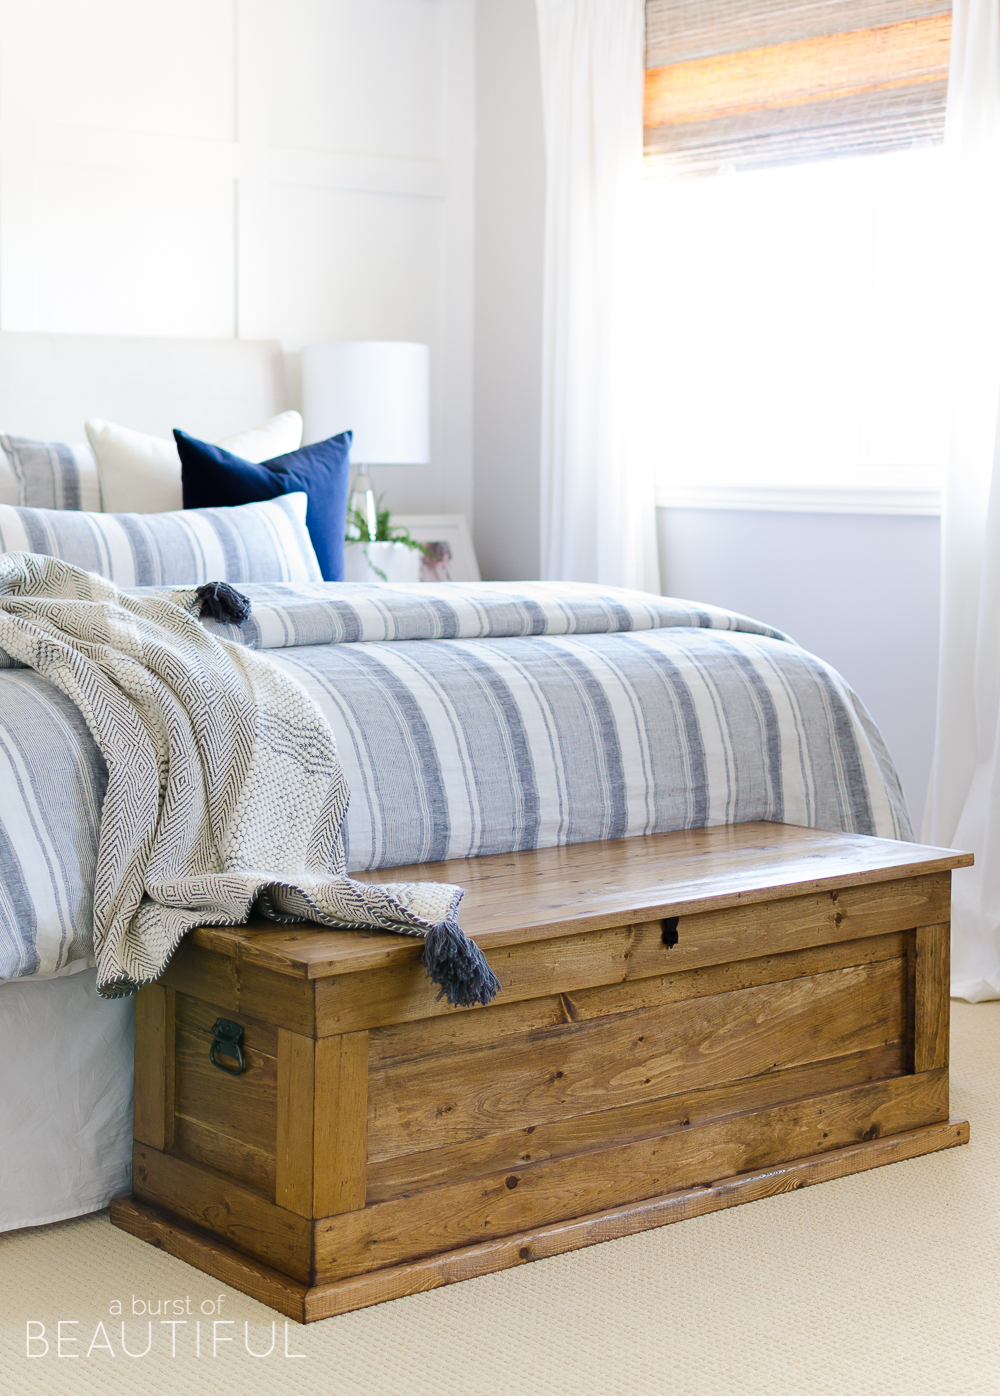
And we ended up with this beautiful DIY blanket storage chest. Its simple lines give it a classic feel and an heirloom quality.
It honestly reminds me of something that has been passed down from generation to generation. Nick used a combination of knotty pine and select pine which gave it a rustic, yet modern look.
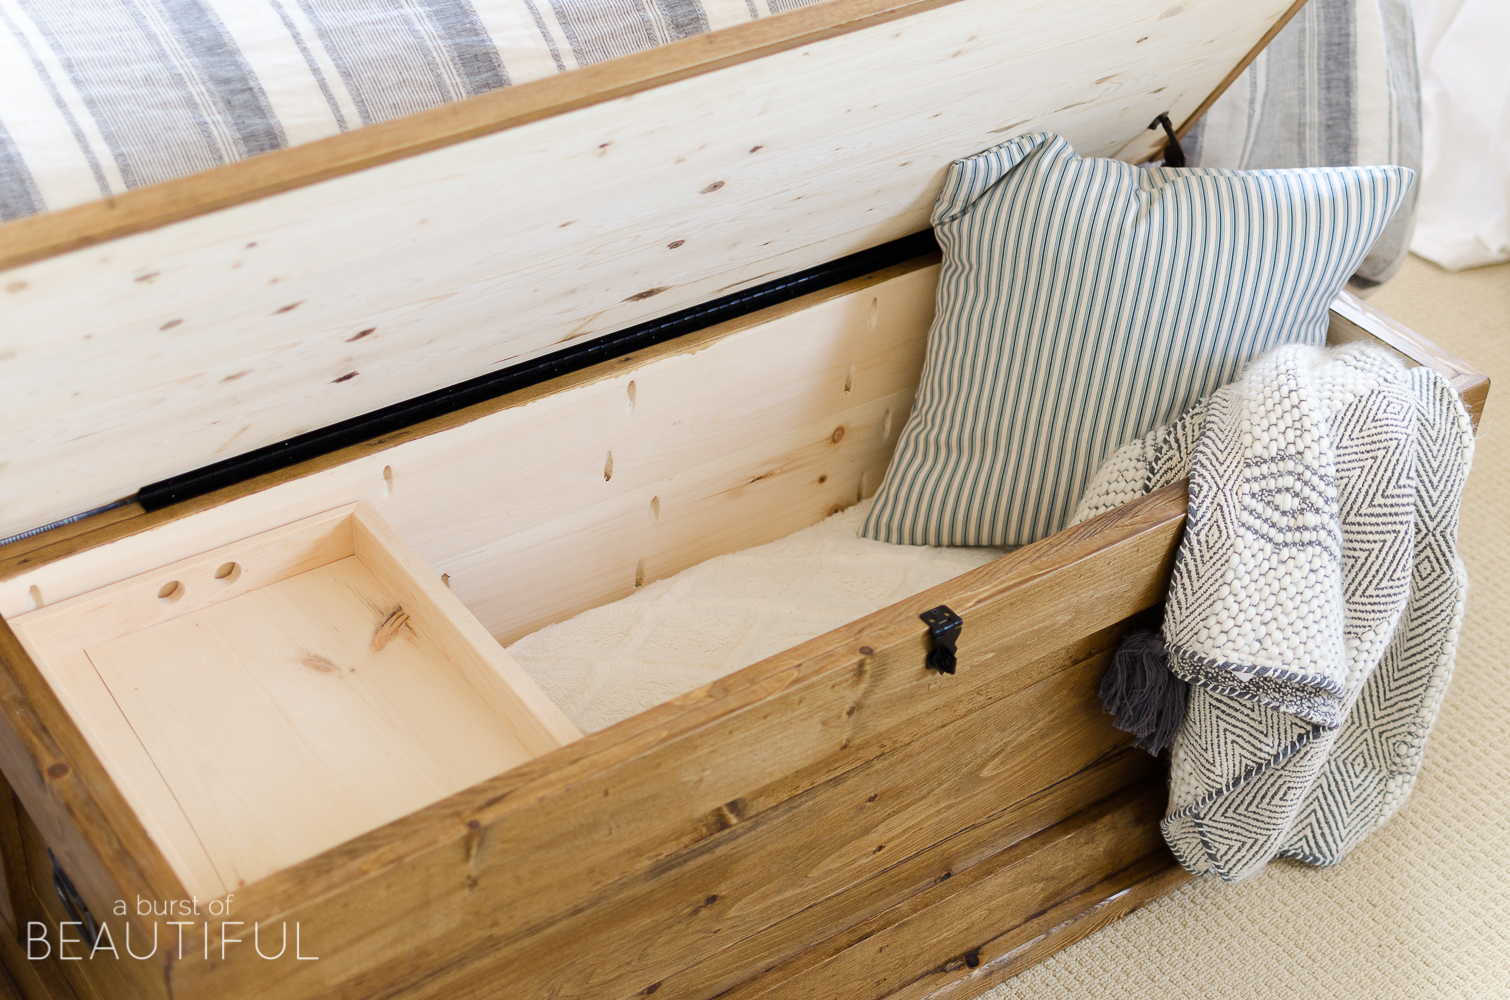
Nick didn’t want to make it out of plywood panels as that would have been uninteresting to the eye. Using his Kreg Pocket Hole system (which he has been using with every build since I bought it for him), he was able to use multiple boards to give it more depth and detail.
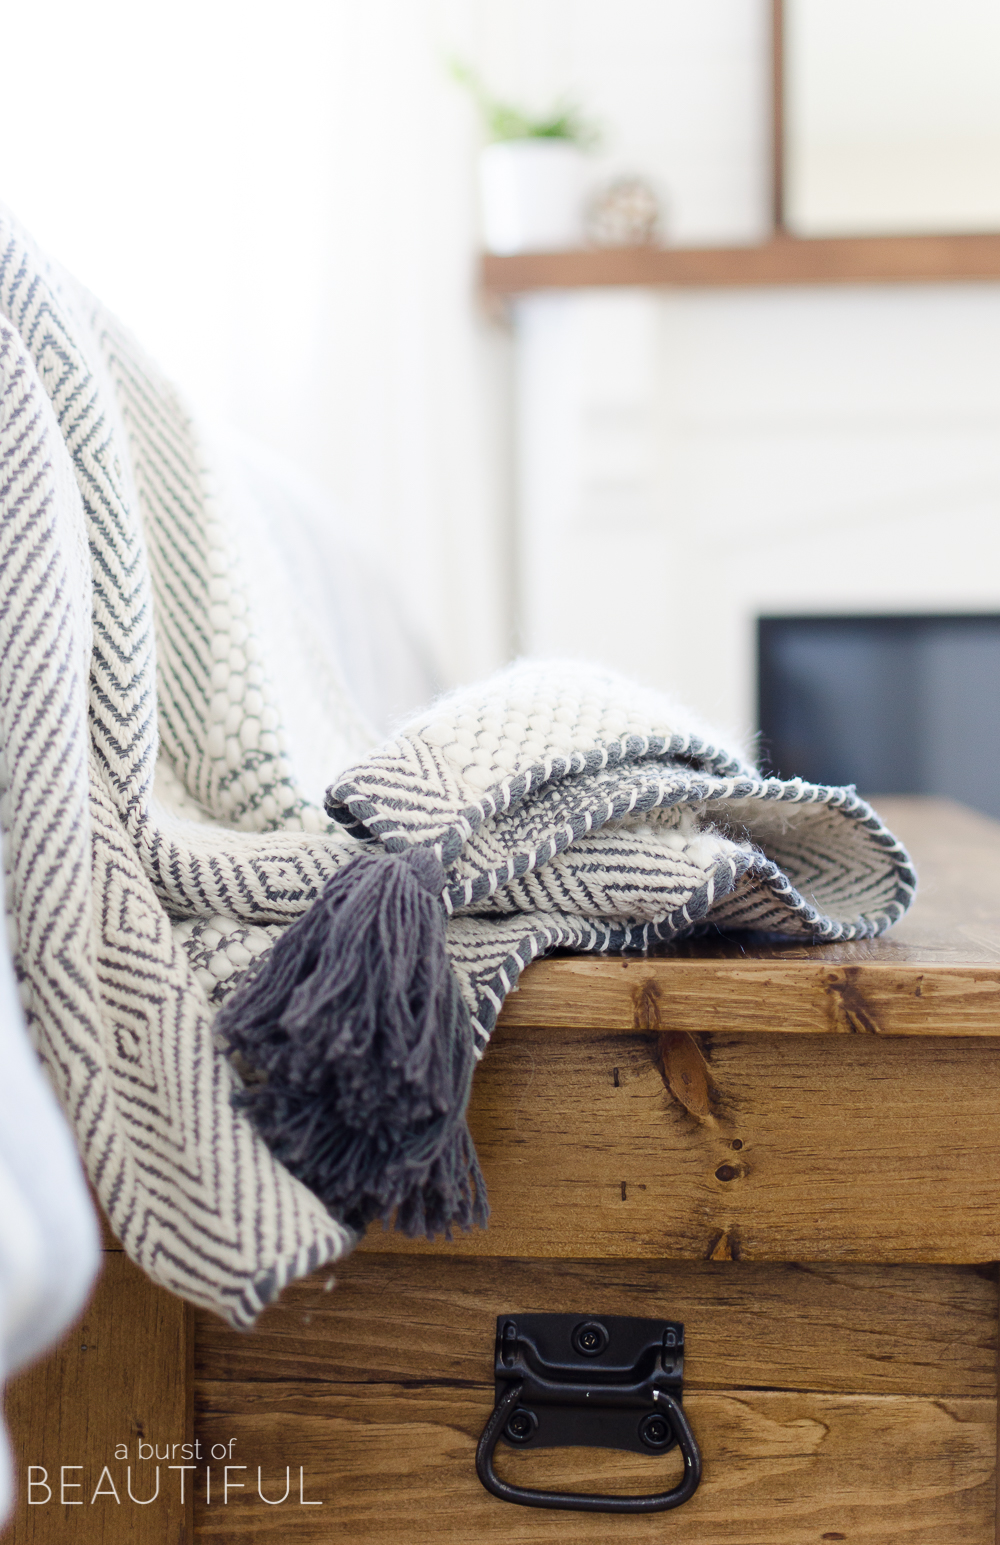
Nick stained it using Provincial color by Minwax and coated it with a satin polyurethane, so it has a wonderful rustic warmth to it.
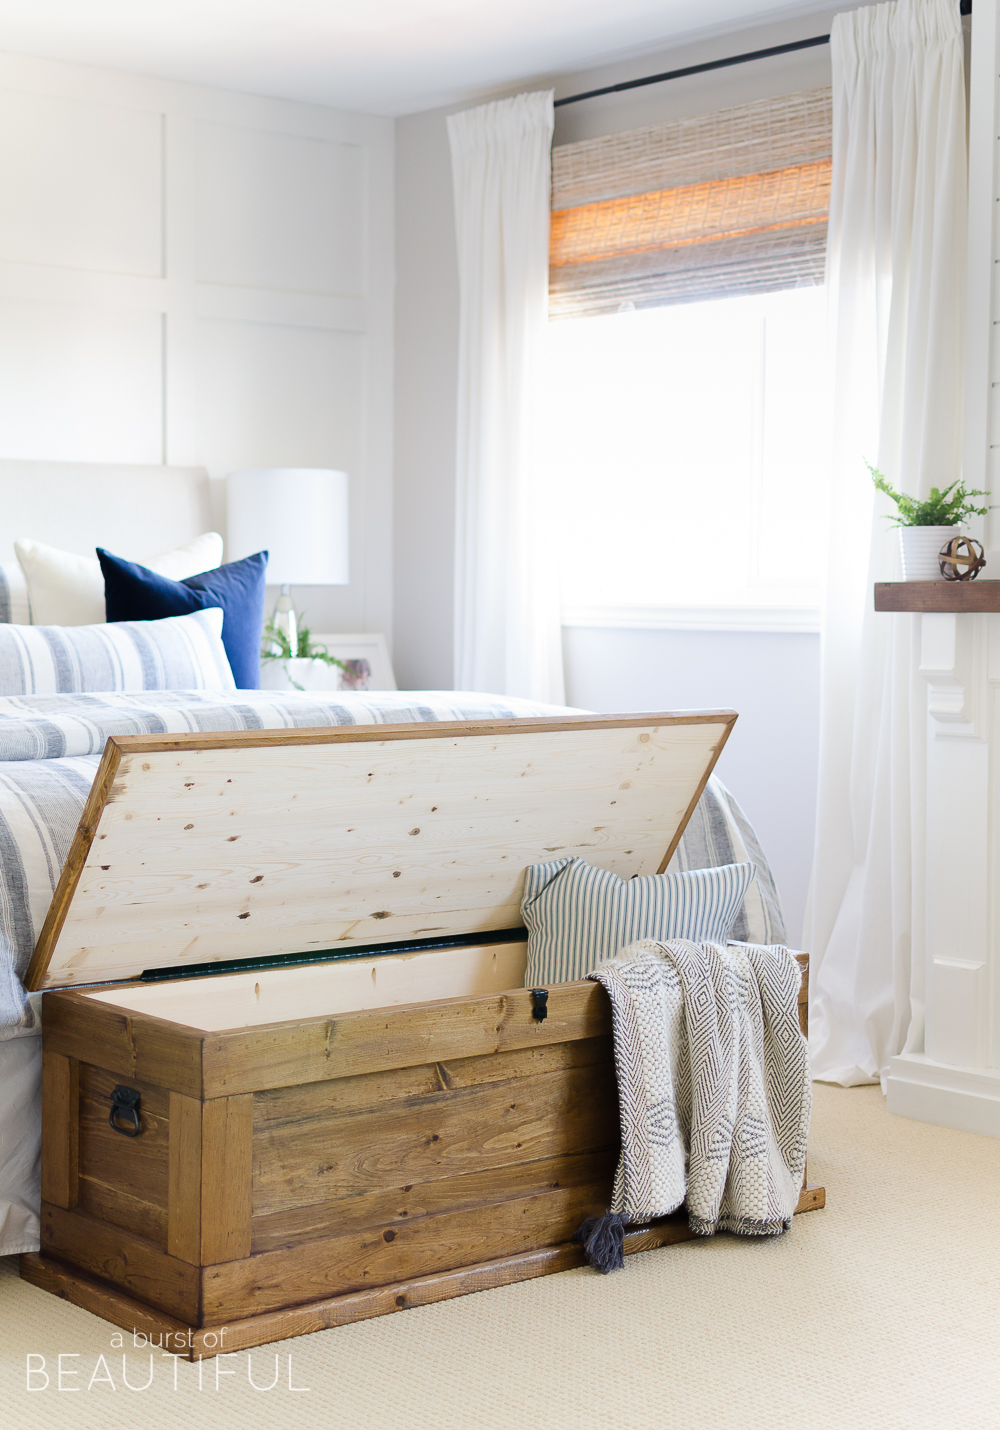
We added these handles, a long piano hinge and chest latch for an authentic touch.
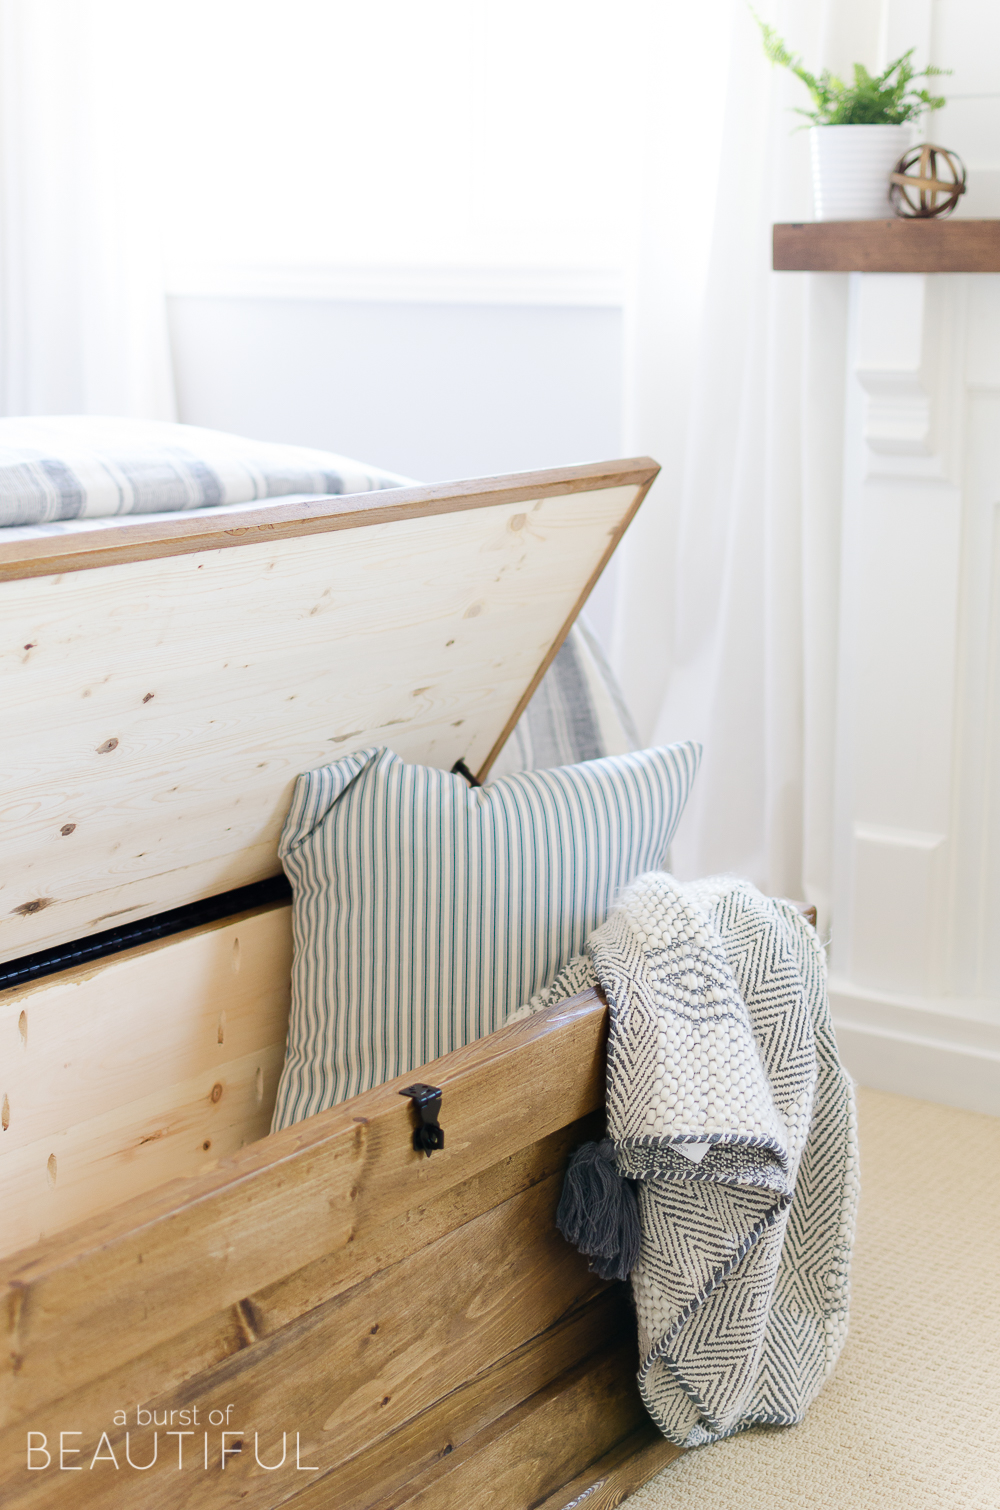
Currently, it sits at the foot of our bed and it houses all of my extra throws and pillow covers. It has lots of room for storage, and even this cute little drawer for small items.
It’s been so nice to finally get them out of our overstuffed guest room closet, because…something fun is happening in that room very soon! If you don’t want to wait to find out, I spilled the beans on Instagram.
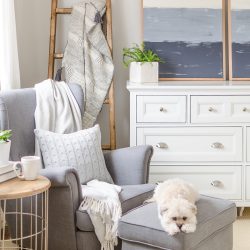
And as much as I love it in our bedroom, we’ve also tested it out in our living room as a coffee table. I can’t decide where I love it more! Maybe Nick will just have to build a second one… 😉
You can get the free plans for our blanket storage chest at buildsomething.com. While you’re there, I’m sure you’ll find plenty more DIY ideas. There are plenty of free plans that you can tackle this weekend using the amazing Kreg Jig that Nick swears by as his tool of choice, and with results like this, I can’t disagree! 🙂
Happy building!


Dianne says
Lovely storage chest . Nice that it could work in 2 different rooms
for you..
Alicia says
Thank you, Dianne. I agree, the versatility and extra storage is an added bonus!
Jason says
A little off topic, but where did you guys get your bed spread? It is really pretty!
Alicia says
Hi Jason, the duvet cover is from Annie Selke (Hampton Ticking)!
Pat Fenwick says
I built the chest as a toy box for my grandson’s Christmas . The plans were spot on but I need help in sourcing the lid supports. The ones I have found were for a 3/4” thick back and the lid will not close all the way.
Nick says
Hi Pat, I’ve emailed you some suggestions – hope they help!
Jill says
We are also having difficulty installing the lid support correctly so that the lid closes all the way. Any suggestions you could send would be appreciated! We loved this project! Thanks for sharing the plans.
Nick says
Hi Jill,
We had the same problem too! It took a lot of small movements and filling in some screw holes (which you can use toothpicks and glue to close up old holes). But eventually, we got it in the right spot so that it wouldn’t keep the lid open. There are some other alternatives out there that might be easier if you can’t get it to work. There are the ones that attach flat against the back instead of using ones that attach to the side. Unfortunately, I’ve only seen them orderable online and not in any stores. https://www.etsy.com/listing/276380778/toy-chest-lid-support-rustic-lid
I hope this helps a little!
Cheryl says
Would you mind emailing me the suggestions as well, as soon as possible. Thank you!
Nick says
Hi Cheryl, There are the ones that attach flat against the back instead of using ones that attach to the side. Unfortunately, I’ve only seen them orderable online and not in any stores. https://www.etsy.com/listing/276380778/toy-chest-lid-support-rustic-lid
I also found these pneumatic ones that might work…I haven’t tried them yet though…
https://www.homedepot.com/p/Richelieu-Hardware-Pneumatic-Lift-System-12-kg-BP57812105/202215984
I also came across these ones which are functional too, There are a few pinch points so I’m not sure I’d recommend them for a toy chest, but if children aren’t going to have access to it, then it should be fine too.
https://www.homedepot.com/p/Everbilt-Bright-Brass-Lid-Support-Left-Hand-Hinges-19834/204485795
I’ve also had people just leave these supports off altogether if children aren’t going to be using the chest.
Wendy Barreto says
What is the finished dimensions? I could not find it on your site or the link you gave.
Nick says
Hi Wendy,
Sorry for the delayed response on this! The final dimensions are 52″ x 19″ x 18.75″. You can find a diagram with the final measurements on step 17 on the buildsomething.com plan page by clicking here! Good luck if you go ahead and build this. We’d love to see the final result!
Chris says
How did you guys specifically install the piano hinge? Is it flush in the back, i.e. did you use a router to remove the thickness of the hinge?
Thanks!
Nick says
Hi Chris,
I didn’t router out any of the wood to accommodate the piano hinge. You’ll see in my pictures that one side is attached to the bottom of the lid, and to the top edge of the box. It does bump up the backside of the lid, but only by about 1/8″ and isn’t really noticeable. You could definitely router out a spot for the hinge, or if the back of the chest is going to be against a wall you could just attach it to the back of the chest and back edge of the tip. If you decide to build this, make sure you send us some photos of the finished chest!
Tony says
Thanks for the inspiration and vision! I came across some 30 year old heart pine tongue and groove flooring that I was trying to figure out what to build. I had a limited number of pieces (12 pieces @ 84”). This project worked great! I built the front, back and side panels using the flooring. The bottom of the flooring was ribbed so I struggled deciding if I wanted the smooth side facing out or in! I went with smooth side out. If I build another one, think I may reverse! It turned out beautiful. My Daugher-In-Law is going to be one surprised and happy camper at Christmas. Thanks again!
Nick says
That’s amazing Tony! If you have a chance, send us a photo at [email protected], we’d love to see it!
Rachael says
Hey! Gorgeous chest! Being that you didn’t use plywood but framed a bunch of solid wood have you had any expansion and compression issues? (Gaps, uneven joints, etc) I assume it isn’t too bad especially cause it’s inside just figured I’d ask 🙂
Nick says
Hi Rachel,
I’ve had no issues with it so far. It’s been in our bedroom for about 3 years now, so stable warm temperature, and we’ve had no problems. I even built it in a freezing cold shop in the middle of winter and after bringing it in, there was no cracking or anything. The Kreg screws really help keep things together!
Niki Z says
Love it! You should sell these I would totally buy one!
Alicia says
Thank you, Niki! Maybe someday we will! 🙂
Jonathan Weeda says
I would like free plans
Alicia says
Hi Jonathan, just follow the link at the bottom of the post, it will take you to Buildsomething’s website with our free plans! 🙂
TIFFANY Young says
I cannot find the plans to this design? ? could you email me?
Alicia says
Hi Tiffany, there is a link for the plans at the very bottom of the post, just click it and it will take you to the plans on the Build Something website. Please let me know if you still have trouble finding them!
David Gentle says
Where are the plans?
Alicia says
Hi David, if you scroll to the bottom of the post you will see a link that says Click Here For the Free Plans. Please let us know if you’re still having trouble.
Jason says
I want to make this piece, but i need to alter dimensions from 52″ Width to 60″.
Besides the base frame, what would the other cuts to be adjusted to?
Nick says
Hi Jason,
All piece that are related to the width would need to be adjusted accordingly. ie. the top panel, front boards, back boards, bottom boards…etc.